KEY PLANTS vs. KEY PESTS vs. KEY LOCATIONS CONCEPT:
Landscape IPM (Integrated Pest Management) methods require site-specific information. Every landscape typically contains at least several key pests, key plants and key locations that will be unique to each site. These concepts are extremely useful to simplify monitoring procedures at any given landscape. They will enable field technicians to concentrate on plants and locations that are prone to problems as well as those plants and locations that have low aesthetic thresholds. Scouting efficiency should improve and a more productive use of time spent on landscapes is the result. It is important to emphasize that Integrated Pest Management is a philosophy & practitioners will need to develop skills & experience to improve their levels of commitment.
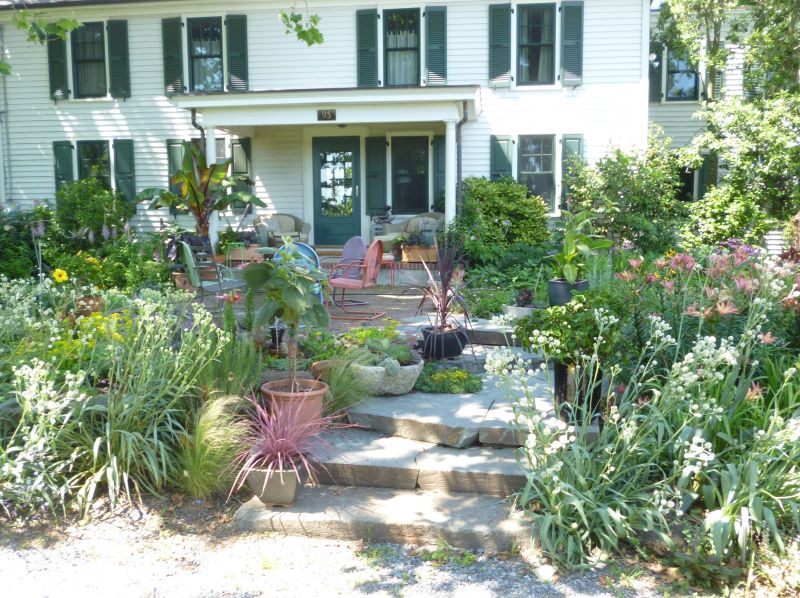
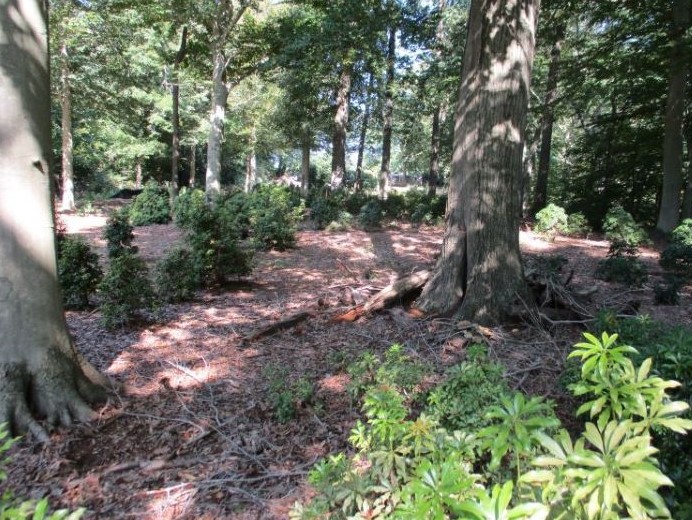
A diverse, well designed landscape that will unlikely develop many pest problems. (Photo Credit: Steven K. Rettke, Rutgers Coop. Ext.)
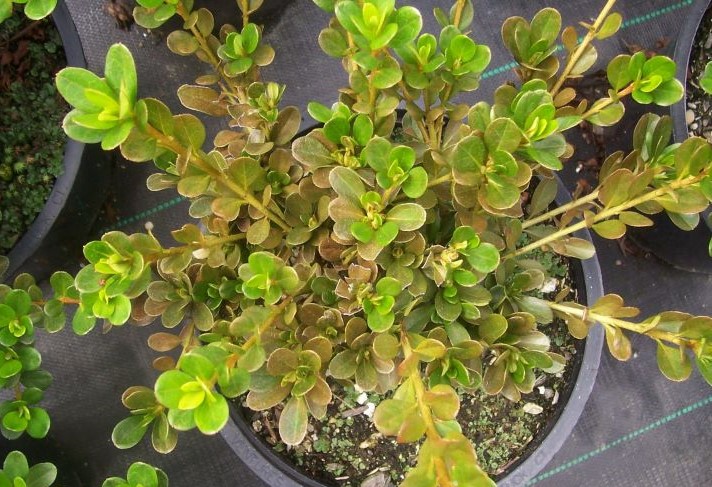
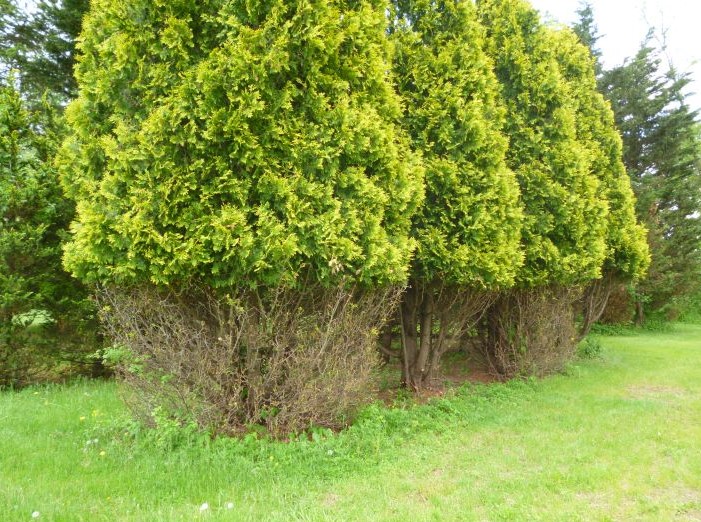
Key Plants: Examples in NJ include azalea, juniper, hemlock, boxwood, euonymus, rose, arborvitae, ash, Prunus spp., etc. These plants are commonly found in our landscapes & are usually inexpensive & readily available. They are also prone to attack by the key pests & require close monitoring. A landscape containing a lot of key plants will require additional time to monitor.
Key Pests: Examples of Key Pests in NJ include species of spider mites, species of lace bugs, bagworms, euonymus scales, bronze birch borers, boxwood leafminers, hemlock woolly adelgids, etc. These pests will typically attack the key plants & are often host specific. It should be noted that there are numerous diseases that are also considered to be key pests in our landscapes. Many potential problems on specific plant species can be predicted to occur during certain times of the year. To help further refine scouting activities, a monitoring calendar for each site can be established that will contain the time of the season key pests may occur on the key plants. This information will determine the time of year when monitoring visits for individual sites will be most beneficial and how often the visits are required.
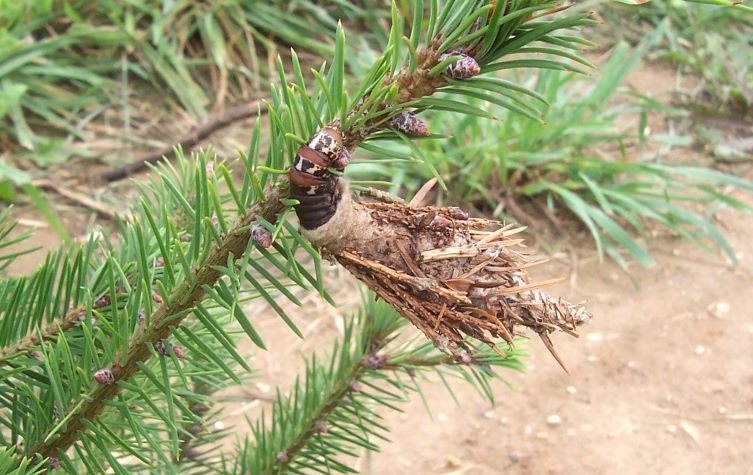
Bagworm Caterpillars are sometimes classified as the #1 key pest in our NJ landscapes. Bagworms feed on many hosts, but are most damaging to conifers such as this Douglas-fir. (Photo Credit: Steven K. Rettke, Rutgers Coop. Ext.)
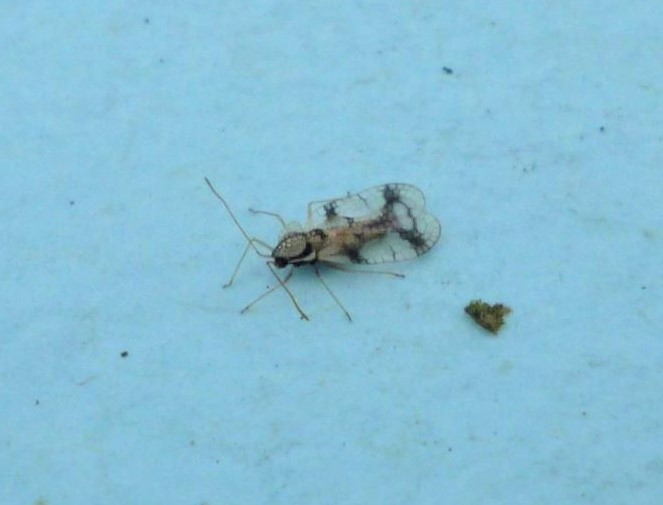
The Rhododendron Lace Bug is one of several lace bug species that are common key pests in NJ landscapes. (Photo Credit: Steven K. Rettke, Rutgers Coop. Ext.)
The classic IPM time schedule for ornamental monitoring usually involves one late winter or dormant visit. During the first half of the growing season (late April to mid-July), monitoring visits should ideally occur at two-week intervals. When monitoring frequencies exceed 3-4 weeks, then IPM programs are greatly compromised. During the second half of the season, monitoring visits typically can be reduced to perhaps one per month.
Key Locations: Examples of Key Locations include, hot & dry sites, low & wet areas, compacted soils, exceptionally shady areas, foundation plantings, pedestrian traffic routes, etc. These locations generally cause stress to plants attempting to grow in them. This stress causes plants to be more susceptible or less tolerant to attack by insect/disease pests. More generally, key locations are also areas where the plants are often & easily viewed.
Examples with Lace Bugs & Shade: Over the years, experienced landscape field monitors have undoubtedly observed that every season the pressure on broadleaf evergreens from lace bugs is less on plants located in the shade. Research has shown the reason for this occurrence is increased levels of predators on the shaded plants. On the other hand, azaleas located in full sun are often inhospitable to many natural biological control organisms. Some applicators routinely spray an insecticide on all azaleas to suppress the possibility of a lace bug infestation. Such practices are irresponsible, especially in areas where there is no pest target and no history of past infestations. Remember, when applying pesticides, “a prescription without diagnosis is malpractice.”
Sunny, hot, dry & dusty environments are inhospitable to many predators & parasitoids. (Photo Credit: Steven K. Rettke, Rutgers Coop. Ext.)
Shady, cool & moist conditions are ideal habitats for many beneficial insects. (Photo Credit: Steven K. Rettke, Rutgers Coop. Ext.)
SYMPTOMS vs. SIGNS:
Occasionally plant diagnosticians will mistakenly use symptoms and signs interchangeably when diagnosing plant problems. It is important to distinguish the difference in meaning when describing each term. Being consistent when communicating plant diagnostics will help reduce confusing an already complicated process.
Symptoms can be defined as the abnormal appearance of a plant after successful pest attack (e.g., stippling, defoliation, skeletonization, notching, chlorosis, necrosis, etc.). Symptoms will more commonly be observed from a distance. A common error some arborists sometimes make is classifying wood borer exit holes as signs. Although counter-intuitive, it is proper to call them symptoms.
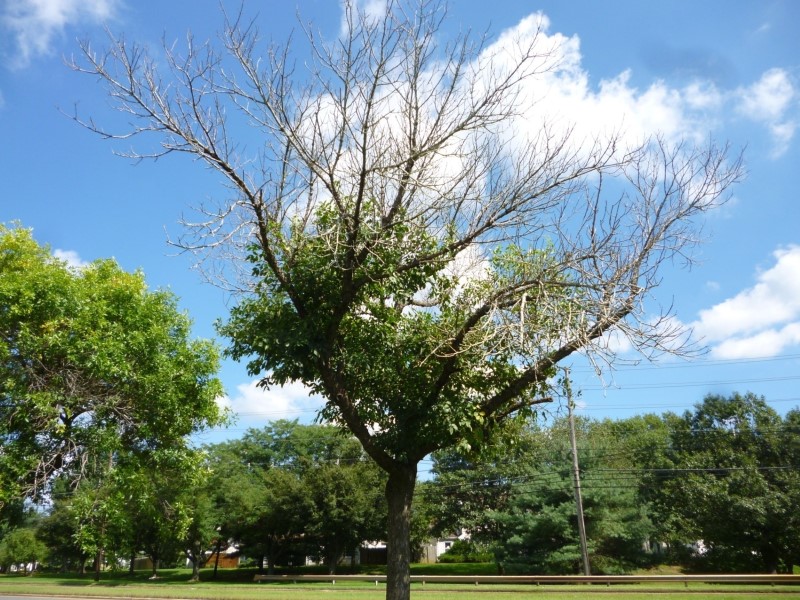
Extreme symptoms to a green ash tree. Need to look closer to potentially find causal signs. (Photo Credit: Steven K. Rettke, Rutgers Coop. Ext.)

Pupal case sign of the emerged Banded Ash Clearwing Moth found on trunk of declining green ash tree. (Photo Credit: Steven K. Rettke, Rutgers Coop. Ext.)
Signs alternatively, can be defined as the actual presence of the pest (the causal agent) or pest related byproducts (e.g., active insects, mites, or cast skins, eggs, webbing, honeydew, sooty mold, fruiting bodies, mycelium, etc.). Signs are more commonly seen close-up after symptoms were first observed from a distance. For example, since signs are observed causal agents, it would be correct to call tree damaging girdling roots as signs.
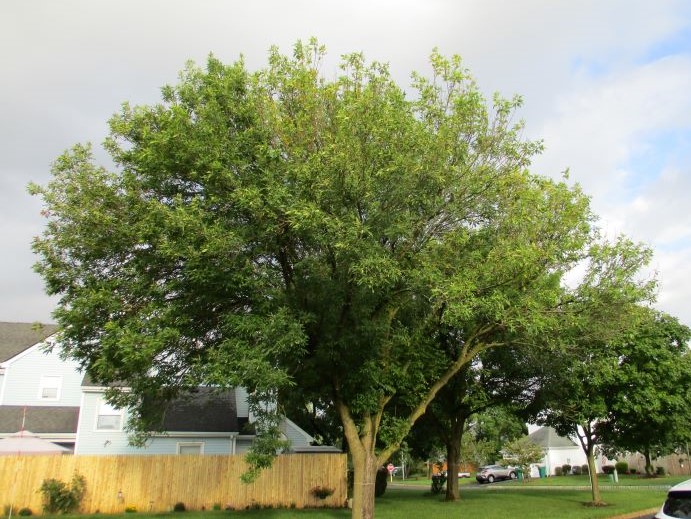
Symptoms show leaves on right side of canopy that are discolored & smaller in size. Photo Credit: Steven K. Rettke, Rutgers Coop. Ext.)

Severe girdling root signs that are causing symptoms to the leaf canopy. (Photo Credit: Steven K. Rettke, Rutgers Coop. Ext.)
Pest Symptom Mimics (Insect vs. Disease vs. Something Else): There are numerous examples where symptoms occur on a plant that are not readily determined if the cause is from an insect, a disease or something else. It is best to avoid jumping to conclusions and examine the plant a little closer if the cause of the symptom is not clear-cut. The photographs below describe some examples of curious plant symptoms that can create confusion when attempting to diagnose.
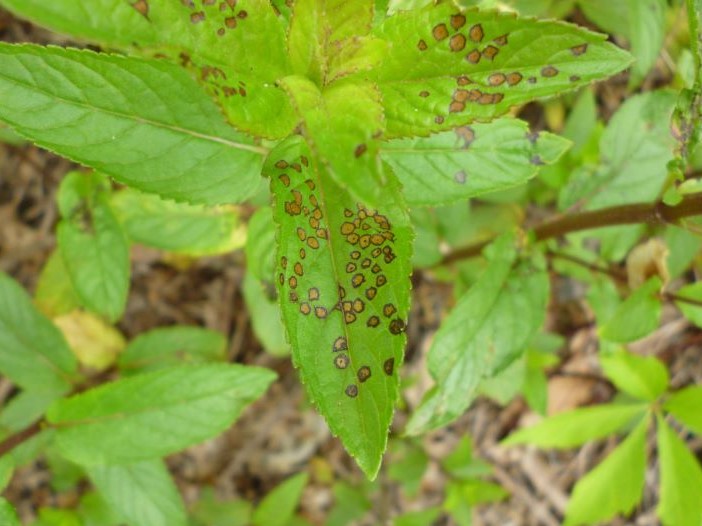
These are fungal leaf spots, right? Wrong! These leaf symptoms were caused from Four-Lined Plant Bug insects. (Photo Credit: Steven K. Rettke, Rutgers Coop. Ext.)

These have to be armored scales, right? Wrong! These weed seeds have exuded seed oils that dried & turned white in color. (Photo Credit: Steven K. Rettke, Rutgers Coop. Ext.)
Stippling Symptoms (Piercing, Sucking Insects): Stippling symptoms on plant leaves occur when insects with piercing & sucking mouthparts feed within the palisade layer of cells directly beneath the upper epidermis. When the cell contents containing chlorophyll are sucked-out the leaf cells become discolored. The discolored symptoms appear on the upper leaves and often have a whitish or chlorotic stippled appearance. Contrasting the stippling from spider mites vs. lace bugs is generally easy to distinguish. The stippling from lace bugs (larger mouthparts) is relatively course in comparison to the fine stippling created by spider mites (smaller mouthparts). When spider mite infestations are high, then the fine stippling can coalesce into a large uniform discoloration.

Rhododendron Lace Bugs produce relatively coarse stippling symptoms on the leaves. (Photo Credit: Steven K. Rettke, Rutgers Coop. Ext.)
The fine stippling symptoms from Southern Red Spider Mites have coalesced to form a uniform discoloration. (Photo Credit: Steven K. Rettke, Rutgers Coop. Ext.)
Infectious vs. Non-Infectious Symptoms: If plant symptoms are created in a straight line, then this is one of the easiest ways to determine that non-infectious factors were the cause. The old axiom that “nature never does anything in a straight line” usually assists with a diagnosis. A couple simplistic photographic examples below helps illustrate this point.
The universally recognized symptom of deer feeding on arborvitae. (Photo Credit: Steven K. Rettke, Rutgers Coop. Ext.)
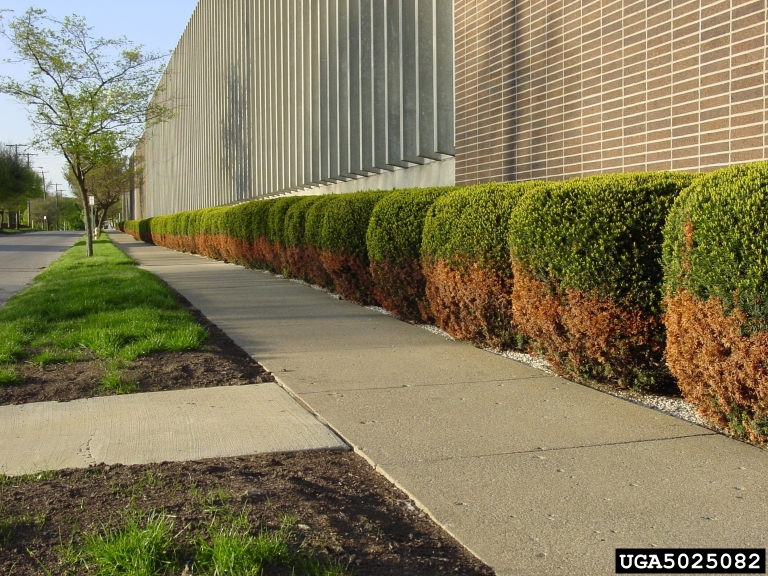
Obvious symptoms from de-icing salts applied along sidewalk. (Photo Credit: Missouri Botanical Gardens)
SUN vs. SHADE SCOUTING:
Some commentary to consider for improving routine monitoring effectiveness: (1) – Make it a common practice to reverse directions each time you visit a specific property. It is surprising what may be observed when scouting in one direction that is completely overlooked when moving in the opposite direction. (2) – Scouting the same property at different times of the day can uncover possible problems that may be less obvious during other times. Shadows and sunlight angles change throughout the day that can mask or enhance plant symptoms or signs.

Scouting in one direction can appear different than when moving in the other direction. (Photo Credit: Steven K. Rettke, Rutgers Coop. Ext.)

The same site location can give a different look with various shadow angles. (Photo Credit: Steven K. Rettke, Rutgers Coop. Ext.)
(3) – Scouting during overcast days will typically provide ideal visual conditions. The subtle color variations of plant foliage are best observed without the sharp contrasting shadows from bright sunlight. Also, the best quality digital images are often achieved under light-shade conditions.
Although counter-intuitive, a cloudy day provides the best scouting conditions. (Photo Credit: Steven K. Rettke, Rutgers Coop. Ext.)

Sunny days can create harsh, contrasting shadows that interfere with subtle plant discolorations. (Photo Credit: Steven K. Rettke, Rutgers Coop. Ext.)
HANDLENS IS A USEFUL TOOL:
Of the many helpful tools that an IPM scout uses, arguably the most important may be a magnifying hand-lens. A hand-lens is a small tool that magnifies the small area of interest and can conveniently be placed in a pocket or worn around the neck, where it is always handy. Landscape pest managers not routinely using the aid of a hand-lens are working at a great disadvantage. Seeing and learning the different life stages of pests improves the decision-making abilities of the IPM technician. Visually verifying scale crawlers emerging from under the female scale, or the number of overwintering mite eggs on leaves, are just two examples of important information about pest life stages a hand-lens can provide the plant manager.
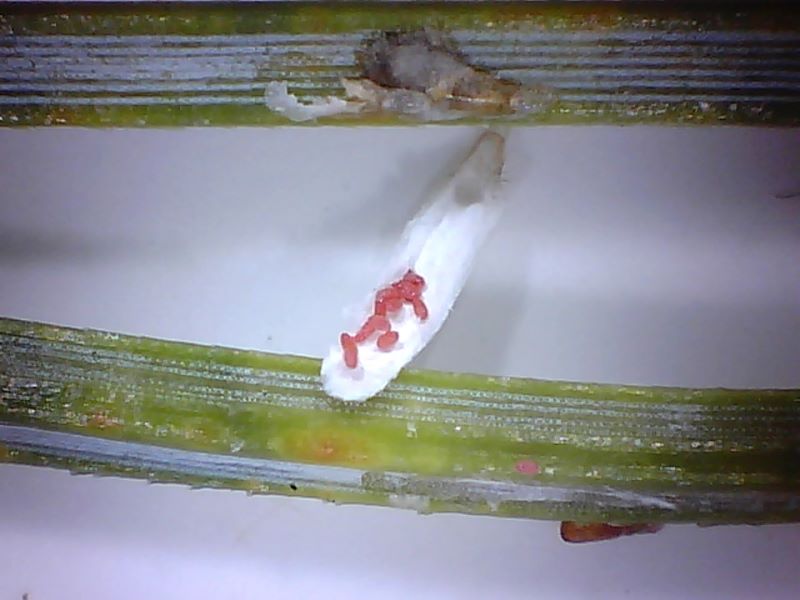
Overwintering Pine Needle Scale Eggs are easily seen under removed waxy cover with magnification. (Photo Credit: Steven K. Rettke, Rutgers Coop. Ext.)
A hand-lens can be purchased in different powers (e.g., 5x, 10x, 16x, 20x, etc.). When choosing a magnifier, a 10x is a good general-purpose power with a broad, bright field of view. However, when observing spider mites, it is best to use a lens with at least a 15x power. When attempting to observe eriophyid mites the need for a 20x lens may be required. All powers have their good points, but since increased magnification decreases both “depth of field” and “field of view,” it is best to select the least amount of magnification needed for the task. With the use of increasing powers of magnification, then decreased light levels can become a limiting factor.

Various magnification lenses ranging from 3x to 20x can be useful tools. (Photo Credit: Steven K. Rettke, Rutgers Coop. Ext.)
A common mistake many novice hand-lens users make is to hold it at arm’s length and attempt to focus on the object. The proper method is to hold the lens close to and nearly touching the eye, and then with the other hand, bring the subject toward the eyepiece until it comes into focus. Determine which one of your eyes is dominant by what feels the most comfortable when focusing. It is also important to have adequate light to view the item of interest.

Genuine Tree Hugger: Sometimes the IPM scout needs to get up-close & personal.
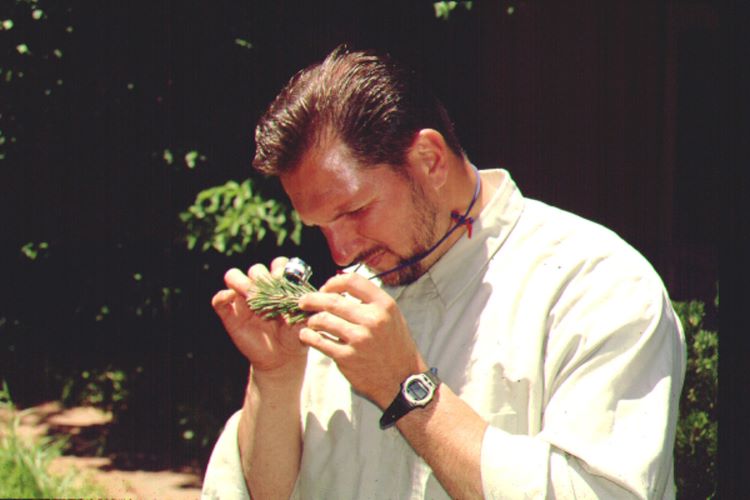
This landscaper is close, but to use a hand-lens correctly, the lens needs to be up against the eye socket. (Photo Credit: Steven K. Rettke, Rutgers Coop. Ext.)